
Last updated November 21, 2026
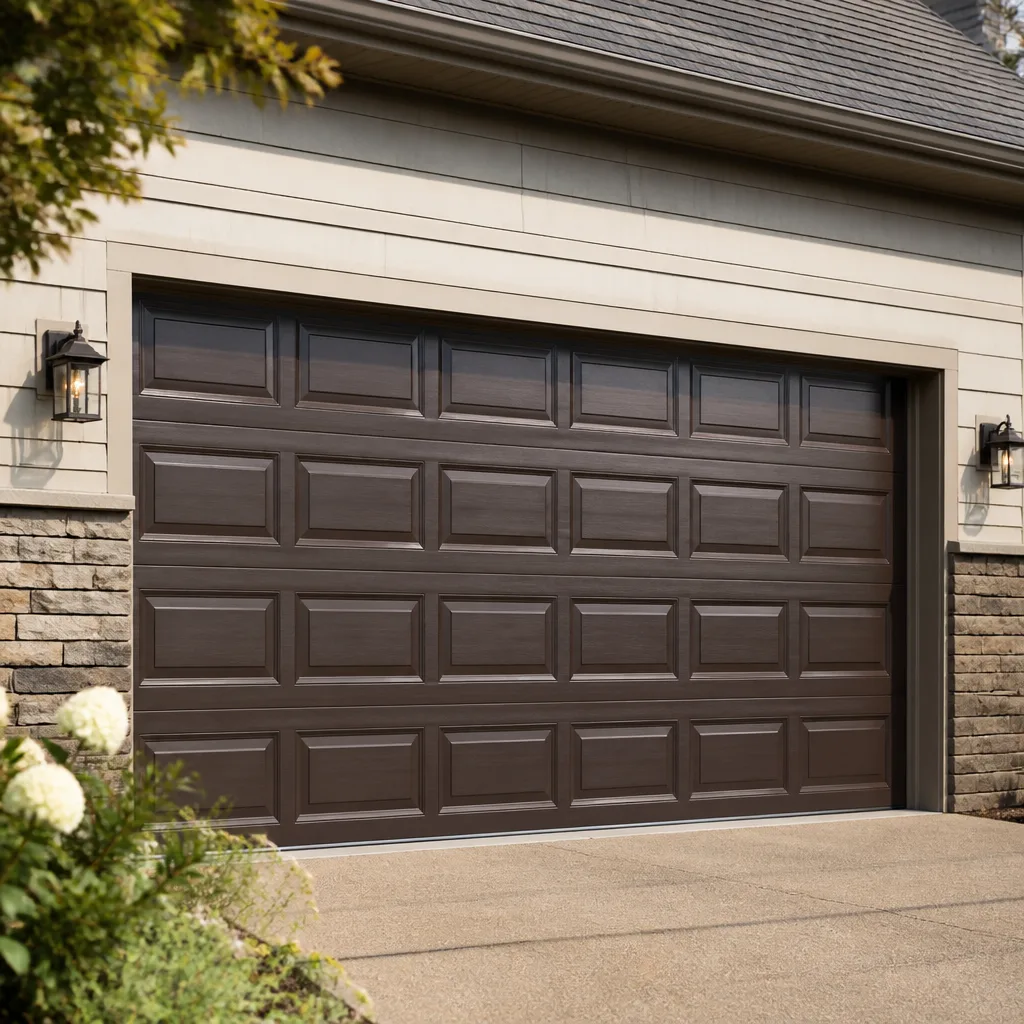 Raised-panel steel
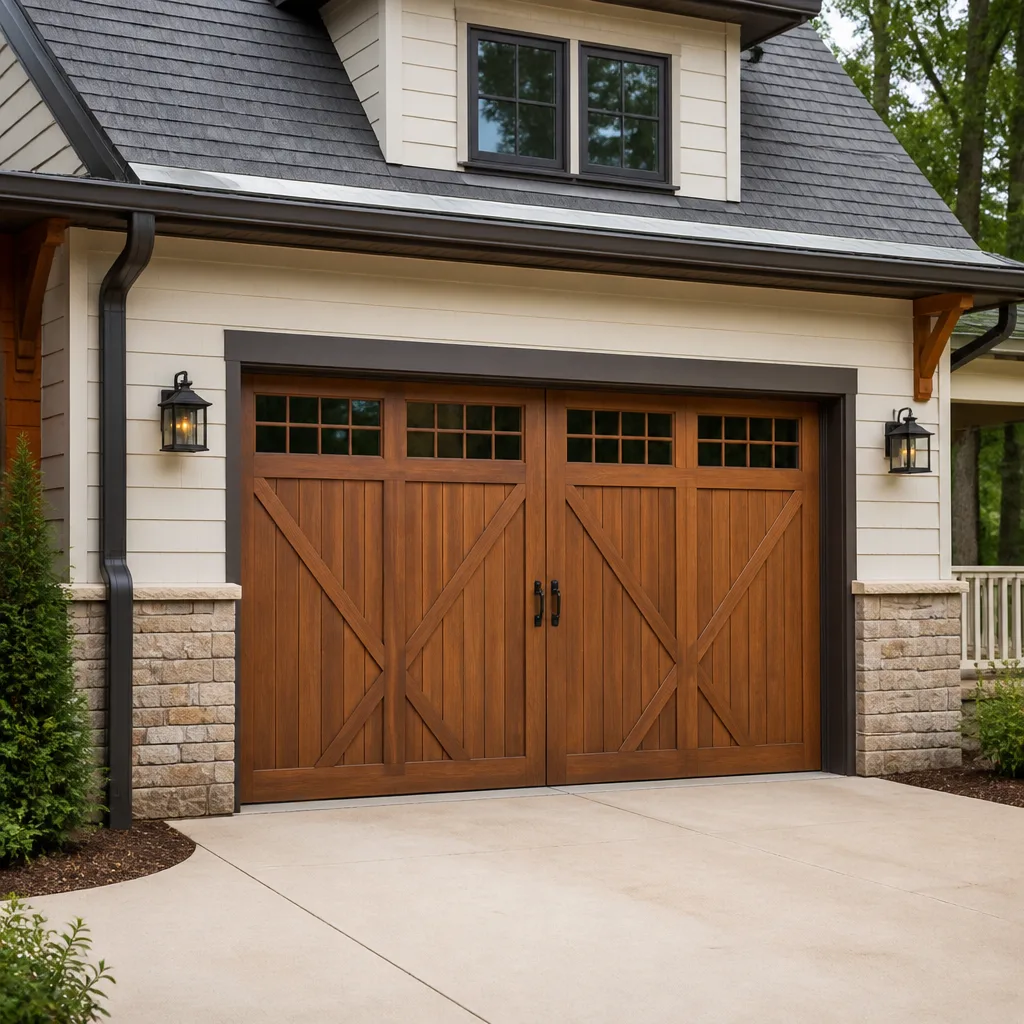 Carriage house
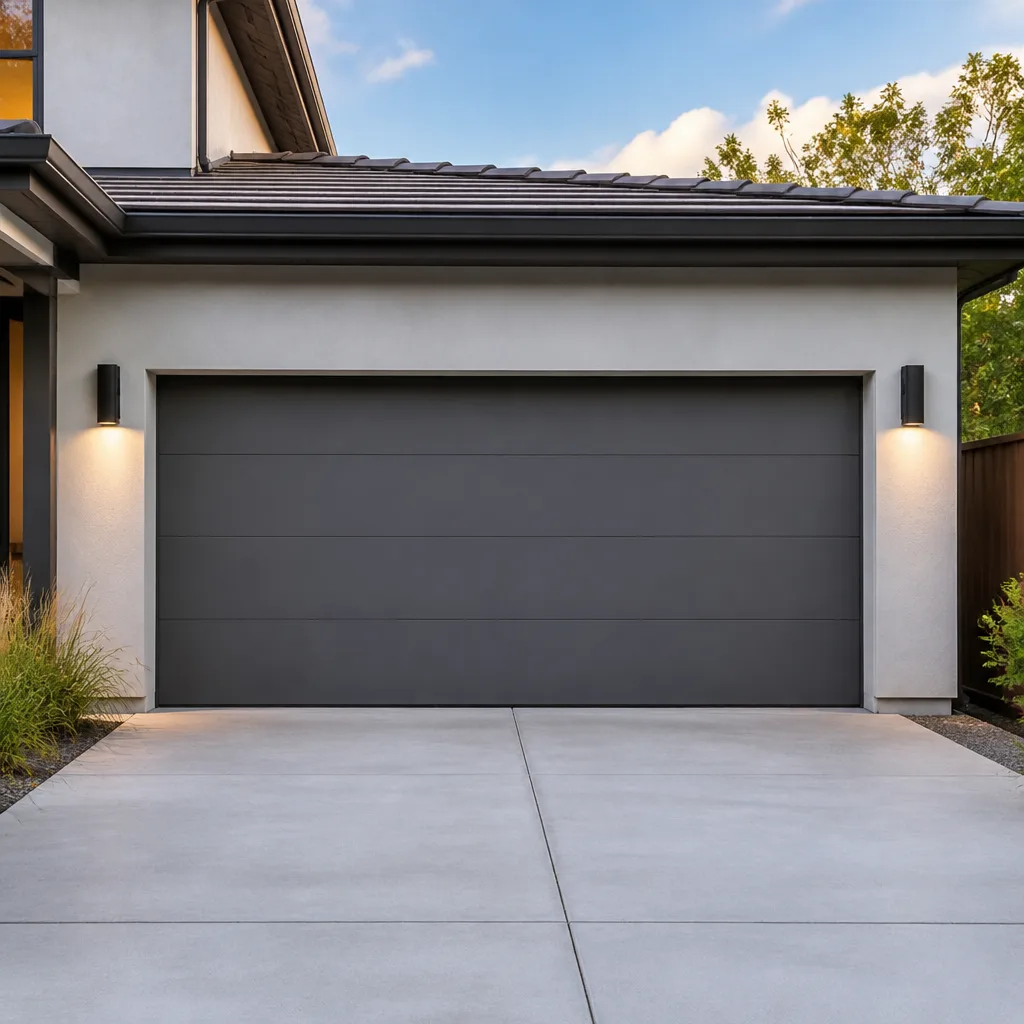 Modern flush
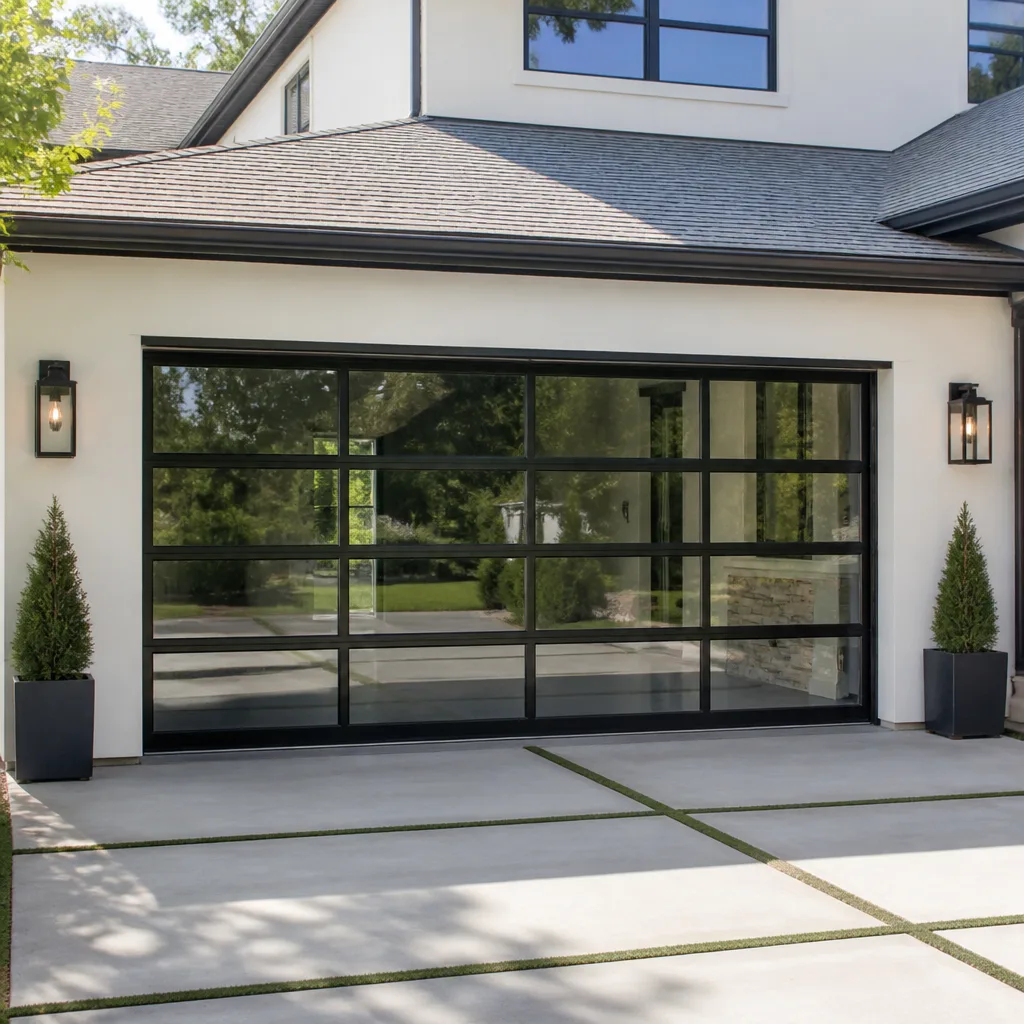 Full-view glass
 LiftMaster openers
 Chamberlain openers
Full 25-point door and opener safety check with every visit - springs, cables, rollers, tracks, and your LiftMaster or Chamberlain opener included
You get a price before we start. It does not change when the pro arrives.
Get your free estimateGarage Door Repair Maintenance Checklist for Long Island City Homeowners
Most maintenance checklists tell you to lubricate the moving parts twice a year and call it done. That advice isn’t wrong, but it’s useless in a building stock like Long Island City’s, where a door can face a humid summer, a freeze-thaw February, and a wind-driven rainstorm in the same twelve months. The parts don’t wear out at the same rate here, and they don’t fail in random order. They fail in a sequence. Springs go first, cables second, rollers third, the bottom seal last. Once you know that order, you know where to look first, what to check weekly, and what to leave alone. This guide walks through that sequence, tells you which lubricant belongs on which surface, and shows you the one balance test that catches most pending failures before they strand your car inside.
We work on garage doors in Long Island City every week, and the checklist below reflects what we actually find on doors across the neighborhood, from the older industrial-converted buildings near Court Square to the townhouse rows closer to Sunnyside.
Quick Answer
The highest-value garage door maintenance in Long Island City is a spring-and-cable inspection twice a year, a balance test with the opener disconnected, monthly visual checks on the rollers and bottom seal, and a force-limit calibration check on the opener. Springs fail first and cause the most secondary damage, so they belong at the top of the list. Everything else is secondary until the springs and cables are confirmed sound.
Styles & brands we work with
- Raised-panel steel
- Carriage house
- Modern flush
- Full-view glass
- LiftMaster openers
- Chamberlain openers
Table of Contents
- Why the Failure Sequence Matters in Long Island City
- Step 1: Inspect the Springs First
- Step 2: Check the Cables Second
- Step 3: Rollers and Tracks Third
- The Balance Test That Reveals Most Pending Failures
- The Bottom Seal and Freeze-Thaw Gaps
- Opener Force-Limit Calibration: The Overlooked Setting
- Which Lubricant Goes Where (and Why WD-40 Is the Wrong Call)
- Monthly vs. Seasonal: A Simple Schedule
Why the Failure Sequence Matters in Long Island City
Garage doors fail in a predictable sequence because the components share load. A torsion spring weakens gradually, which shifts extra weight onto the opener and cables. A stretched cable pulls the door slightly off-balance, which grinds the rollers against the track. A misaligned roller wears the bottom seal unevenly. Each problem compounds the next, and the order never reverses. That’s why a door that “suddenly started making noise” almost always has a traceable cause two or three steps back in the sequence.
Long Island City’s climate accelerates the early steps. Humidity swings push metal fatigue in the springs faster than in drier climates, and repeated freeze-thaw cycles play havoc on the bottom seal and the concrete slab beneath the door. Buildings near the waterfront face even more humidity, and older warehouse conversions often have doors installed before modern weatherstripping standards existed. If you own or manage a door in one of these buildings, you can expect the spring stage of the cycle to arrive sooner than the manufacturer’s printed estimate suggests.
What doesn’t help is treating all four stages as equal priority. A homeowner who polishes the tracks every month but never looks at the springs is polishing the wrong part. A homeowner who replaces springs but ignores the balance test hasn’t actually solved the problem. The checklist below puts each stage in the order that matters, so a maintenance routine catches problems before they cascade into an emergency repair.
One more note before we get into the details: garage door springs and cables are under extreme tension and can cause serious injury if handled without the right training and tools. We’ll tell you what to look for and how to recognize a problem. We won’t walk you through replacing a spring yourself, and we’d strongly recommend you don’t try. That’s a job for a trained technician every time.
Step 1: Inspect the Springs First
Torsion springs sit above the door on a horizontal shaft and carry the door’s full weight. Extension springs run along the horizontal tracks on either side. Both stretch and contract thousands of times a year, and both eventually fail. In our experience working on Long Island City doors, a torsion spring is the single most common component to need replacement, and it’s the failure that causes the most damage to everything downstream.
Here’s what to look at on a visual inspection, without touching anything:
- Color-coded coil ends. Torsion springs are painted at the end to indicate their wire gauge and winding. If that paint is worn off or the coil looks unevenly spaced, the spring has fatigued.
- Visible gaps in the coil. A healthy torsion spring shows even spacing between coils. A spring with a widening gap is close to failure.
- Rust streaks or dark marks. Even light surface rust on a spring is a warning in Long Island City’s humidity. Rust reduces the spring’s ability to flex evenly and leads to early breakage.
- Extension springs without containment cables. If you see extension springs but no steel cable running through the middle of each, that’s a safety gap. Containment cables keep a broken spring from becoming a projectile.
- The center bearing plate. Look at where the torsion shaft meets the plate in the middle of the door. A warped or stressed plate often means the springs have been over-tensioned at some point.
Notice we’re not telling you to unwind, adjust, or lubricate a spring. Don’t. A spring under tension holds enough stored energy to seriously injure an adult. If the visual inspection turns up any of the signs above, that’s when you call us. Our team handles both torsion and extension spring repair, and we’d rather hear from you before a spring snaps than after it takes a cable and a roller with it.
Step 2: Check the Cables Second
Cables are the second-weakest link in the chain. A torsion setup uses two cables that run down each side of the door and attach at the bottom corner brackets. The high-tension cable winds onto the drum above; a second cable may extend down to a floor anchor. In Long Island City’s humidity, cables are prone to fraying where they meet the drum, and to rust at the bottom anchor point.
Here’s what to check:
- Look for frayed strands. A healthy cable is a smooth bundle of tightly wound steel strands. Any loose, broken, or kinked strand near the drum or the bottom bracket is a failure waiting to happen.
- Check for rust at the floor anchor. If the cable disappears into the concrete slab and the anchor looks corroded, that’s a weak point that gets missed on most homeowner inspections.
- Test tension by sight, not touch. Both cables should look equally taut with the door closed. If one side sags or looks slack, the door is already out of balance.
- Watch the drum while the door opens. If the cable doesn’t wind evenly onto the drum and starts to jump the groove, the door is binding somewhere downstream.
Broken strands are the most common reason a door needs emergency repair on the same day the cable fails. If you see one, don’t operate the door. A cable under tension that snaps mid-travel will let the door drop, and the damage to the door, the tracks, and anything under it can be severe. If your door is already showing a snapped cable, that’s the kind of call our garage door repair team expects and handles routinely, and getting to it early limits the ripple damage. We work on the door, cables, and springs as one system rather than treating each in isolation.
Step 3: Rollers and Tracks Third
Rollers are quieter troublemakers. A door has between ten and twelve rollers, each pushed into a hinge and riding inside the vertical and horizontal tracks. Nylon rollers wear more slowly than steel ones; steel rollers last longer under heavy loads but are noisier from day one. Either type collects grit, and the tracks collect it faster in neighborhoods with active construction, which Long Island City has a lot of. Every new building going up nearby sends a little extra dust into your tracks.
Follow these steps:
- Look for flat spots on the roller wheels. A roller that has worn a flat face skips instead of rolling smoothly, and that skipping wears the track.
- Check the spindle and the hinge. A bent hinge throws the roller off-center and puts pressure on one side of the track.
- Run a cloth along the inside of the track. Any grit you collect is grit the rollers are grinding against. Wipe it out, then re-check alignment.
- Listen for a rhythmic thump as the door travels. That’s usually one or two failing rollers, not the opener.
Track alignment matters too, but gently. A track that has been knocked out of plumb needs professional resetting; trying to bend it back by hand often makes it worse. Left alone, misaligned tracks bind the door and pull rollers off their spindle, and they can crack the panel edges where the hinges mount. Nylon rollers are usually the better pick for Long Island City doors that see regular use, because they absorb more vibration than steel without transferring it to the hardware. If you’re not sure what your door has, we can identify the roller type and recommend a swap when we visit.
The Balance Test That Reveals Most Pending Failures
This is the diagnostic that catches more problems than any other single check, and it takes thirty seconds. The balance test tells you whether the springs are still doing their job, whether the cables are equally tensioned, and whether the door is dragging on one side. If your door fails the balance test, the problem is mechanical and the door should not be operated until it’s addressed.
Here’s how it works:
- Close the door fully. Pull the manual release cord that hangs from the opener trolley (this disconnects the door from the opener but not from the springs). The trolley will click and the door will hang free.
- Lift the door by hand to waist height, roughly halfway up. Use both hands at the bottom edge. Move slowly, because a door with a broken spring will be much heavier than usual.
- Let go. A properly balanced door stays exactly where you left it. If it falls, the springs are weak or shot. If it rises on its own, they’re over-tensioned. If it slides only to one side, one cable is stretched.
- Reconnect the trolley by running the opener once. Do not try to lift a door that fails this test. Close it manually by pushing it down and re-engage the opener. Then call us.
If the door is too heavy to lift past knee height, stop. That’s a strong sign of a broken spring, and hauling it up by hand can cause it to fall on you. If you hear the door groan through its travel instead of moving smoothly, that’s usually the balance test failing in slow motion. We run this check on every service call, and it’s the fastest way for us to tell you whether a door needs a repair or a full garage door installation.
The Bottom Seal and Freeze-Thaw Gaps
The bottom seal, sometimes called the astragal, is a rubber or vinyl strip along the bottom edge of the door. Its job is simple: keep weather out. Its failure mode in Long Island City is also simple. Winter freezes the ground under the door, the asphalt or concrete slab heaves slightly, and the seal gets pinched and torn. Spring thaws drop the slab back, and now the seal that was flush in October has a permanent gap. Water gets in. Rust starts on the bottom panel. Pests follow.
What to check on the seal:
- Even contact with the floor. With the door closed, look along the bottom edge from inside. Any visible daylight is a gap.
- Hard, cracked, or brittle rubber. A seal that’s lost flexibility won’t conform to a slightly uneven slab.
- Tears at the corners. The bottom corners of the seal get caught between the door and the frame and tear first.
- Water staining inside the garage along the base of the door. That’s the freeze-thaw gap doing its work over a season.
Replacing a bottom seal is one of the few parts of the checklist you can reasonably do yourself, but only if the slab is flat and the door hardware is sound. If your asphalt or concrete slab has heaved enough that the door is dragging on a high spot, a new seal won’t fix the problem; the slab is the issue, not the rubber. Also, look at the weatherstripping along the sides and top of the door frame. The same freeze-thaw cycle that wrecks the bottom seal can pull the side weatherstripping loose. A small gap at the corners will let wind-driven rain under the door panel. It’s a ten-minute fix if caught early, but a rusted bottom panel is a much bigger job.
Opener Force-Limit Calibration: The Overlooked Setting
This setting causes more secondary damage than any mechanical part, and almost no homeowner has checked it. The force limit tells the opener how much resistance to tolerate before it reverses. If it’s set too high, the opener will force the door through obstacles, which wears out the drive gear, bends the tracks, and can crack the panel. If it’s set too low, the door reverses without warning and never actually closes.
Here’s the check:
- Open and close the door fully and watch for stalling, uneven travel, or an opener that seems to fight the door. Any of those means the force limit is likely too high.
- Place a small object under the door (a foam pad or a roll of paper towels) and run the door down. It should reverse on contact with the object, cleanly and reliably.
- If it doesn’t reverse, or grinds the object, the force limit is too high. Adjust it one notch at a time using the setting on the back or side of the opener head.
- If it reverses too easily, the limit is too low. Adjust it up one notch and test again with the same object.
- Repeat the test every quarter. The setting drifts over time, especially as the door hardware gets heavier or the springs weaken.
Force limits are set at different points on different openers. A LiftMaster or Chamberlain unit typically has both a force and a travel setting on the back panel, and the exact procedure is in the opener manual. Genie and Craftsman units vary, and older openers often have a mechanical force knob rather than a digital setting. Knowing the brand matters. We service all eight of the major opener brands, from LiftMaster and Chamberlain to Genie, Raynor, and legacy Craftsman units, and we can recalibrate the force limit in one visit if you’re not comfortable adjusting it yourself. The same visit can include garage door opener repair if the opener has been straining against a heavy door for a while.
Which Lubricant Goes Where (and Why WD-40 Is the Wrong Call)
WD-40 is a solvent, not a lubricant. It’s excellent at displacing water and loosening rust, but it evaporates and leaves nothing behind to protect moving surfaces. On a garage door, it dissolves the grease already on the hinge pins and leaves the rollers running dry. If you’ve been WD-40-ing your door for years and wondering why it’s getting louder, this is why.
Here’s the correct lubricant for each surface:
- Torsion springs and torsion bar: a light, non-petroleum-based spray lubricant or silicone spray. This is the only place we recommend spraying a spring, and only to slow surface rust. Never unwind or adjust a spring while doing this.
- Metal-on-metal contact points (hinge pins, roller spindles, the pivot points under the hinges): a light lithium grease. These parts take the most friction and need a lubricant that stays put.
- Nylon-roller tracks: silicone spray, applied sparingly. Nylon rollers don’t need grease; excess grease attracts grit, which is the opposite of what you want in a track. Spray, then wipe out any excess.
- Steel-roller tracks: a light grease along the inside face of the track, applied thin.
- Bottom seal and weatherstripping: a silicone-based protectant for rubber. It keeps the rubber from drying out and cracking over the winter, and it doesn’t leave a greasy film that picks up dirt.
Three things not to do: don’t lubricate nylon rollers themselves (the wheel, not the track), don’t spray anything on the opener’s chain or screw drive unless the manufacturer specifically calls for it (most are dry-lubricated from the factory), and don’t grease the torsion bar bearings inside the center plate unless they’ve been cleaned first. A little lubricant in the right place is worth a lot in the wrong place.
Monthly vs. Seasonal: A Simple Schedule
A full checklist doesn’t mean a full inspection every weekend. The schedule below divides the work by frequency, so you’re only doing the highest-value checks often and the deeper checks a couple of times a year.
Monthly (five minutes):
- Visual check: look at the springs for gaps, rust, or wear on the color-coded ends.
- Door travel: run it up and down once and listen for new noises, uneven speed, or a stutter at the top.
- Bottom seal: check for daylight or water staining after a heavy rain.
- Obstacle test: place a foam pad under the door and confirm it reverses on contact.
Seasonal (twice a year, spring and fall):
- Full balance test with the opener disconnected.
- Cable inspection at the drum and at the bottom anchor point.
- Roller inspection: flat spots, bent hinges, track grit.
- Lubrication of hinges, roller spindles, and springs (with the correct lubricant for each).
- Force-limit recalibration test with a small obstacle.
- Weatherstripping check along the sides and top of the frame.
Fall is the critical seasonal check for Long Island City because it gets you ahead of the freeze-thaw season. Spring is the critical seasonal check for the humidity swing. If you only do one, do the fall one. That’s the check that catches a bottom seal before it’s destroyed and a spring before it breaks at the first cold snap.
Common Mistakes to Avoid
- Lubricating with WD-40. It dissolves the lubricant already in place and leaves nothing behind. Use silicone spray or lithium grease for the correct surfaces, and use them sparingly.
- Adjusting or replacing springs yourself. This is the single biggest safety mistake we see. Torsion springs are under extreme tension and cause serious injuries every year when handled without the right training. Call us instead.
- Skipping the balance test because “the door opens fine.” A door with a failing spring will still open on the opener, right up until the spring breaks. The balance test catches the failure before the opener has to fight a dying spring.
- Setting the force limit high to “solve” a stiff door. A door that stops and reverses needs adjustment, not a force limit override. A high force limit grinds the opener gear and tracks while the underlying problem gets worse.
- Ignoring a small bottom-seal gap in the winter. Long Island City’s freeze-thaw cycles turn a small gap into a permanent slab issue. A seal that costs a few dollars to replace in the fall is much cheaper than a bottom panel rusted through by March.
- Treating all eight brands as identical. A Clopay door with an Amarr-style tension setup is not the same as a Wayne Dalton door with a proprietary spring system. The procedure changes by brand, and so does the part you need. Call us with the brand and we’ll tell you what we’re likely to find.
- Doing a full maintenance pass once and calling it done. Garage doors are moving equipment. The checklist only works when it’s repeated. A door that passed the balance test in October can fail it by February, especially in Long Island City’s weather.
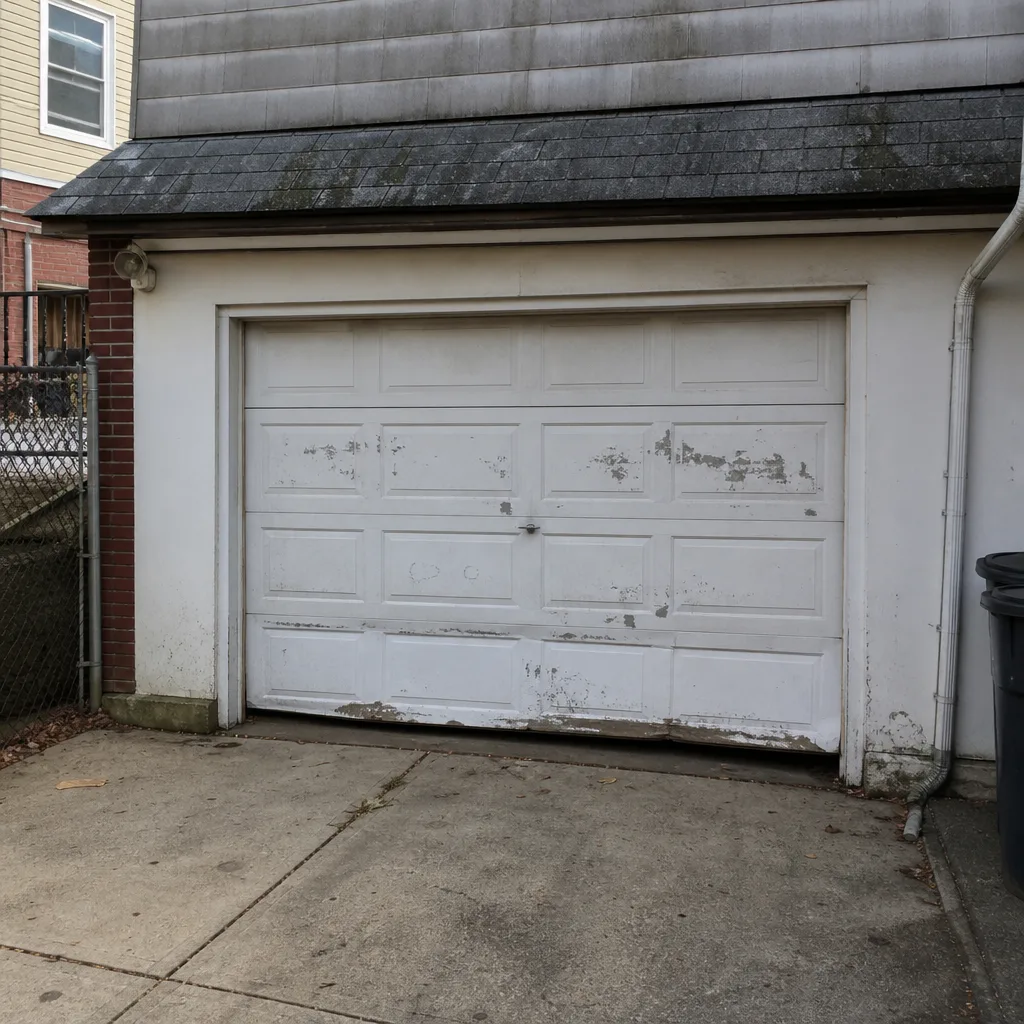
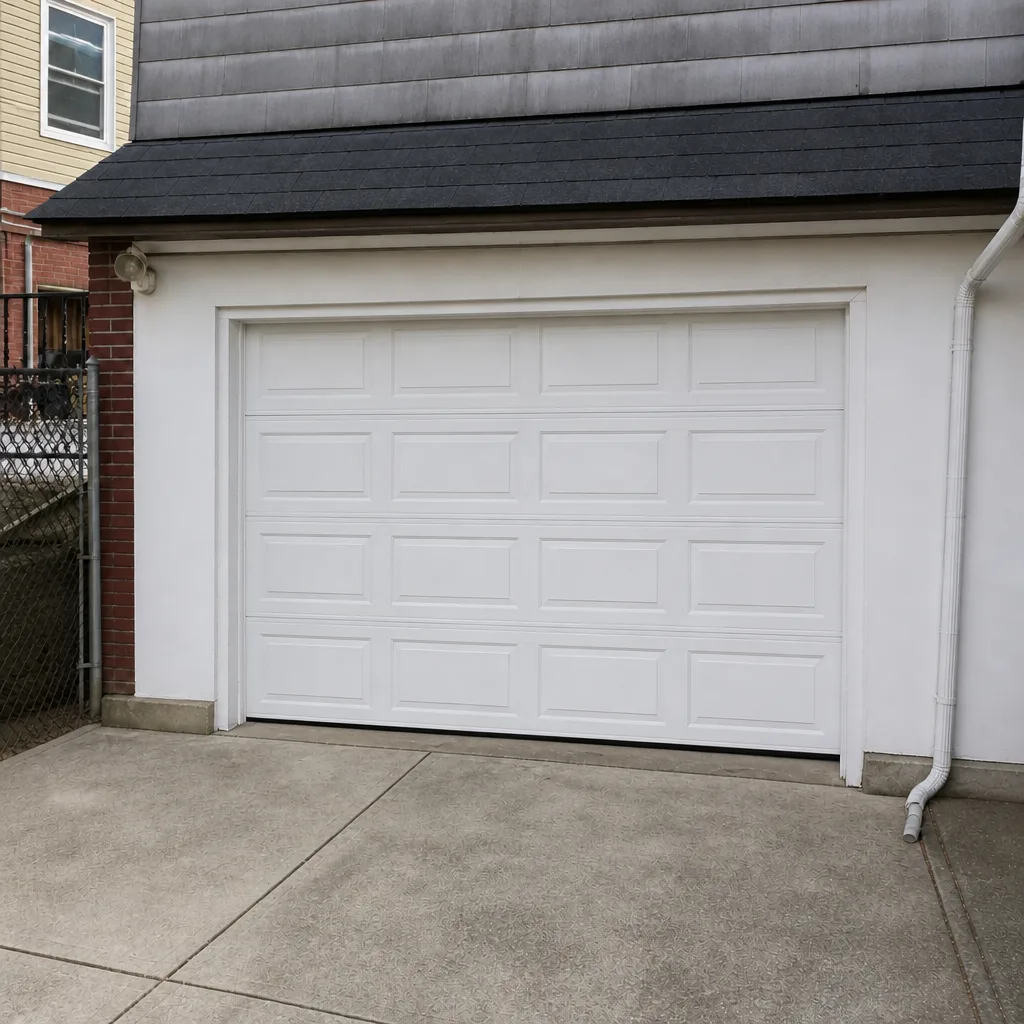
See the difference
 Before
 After
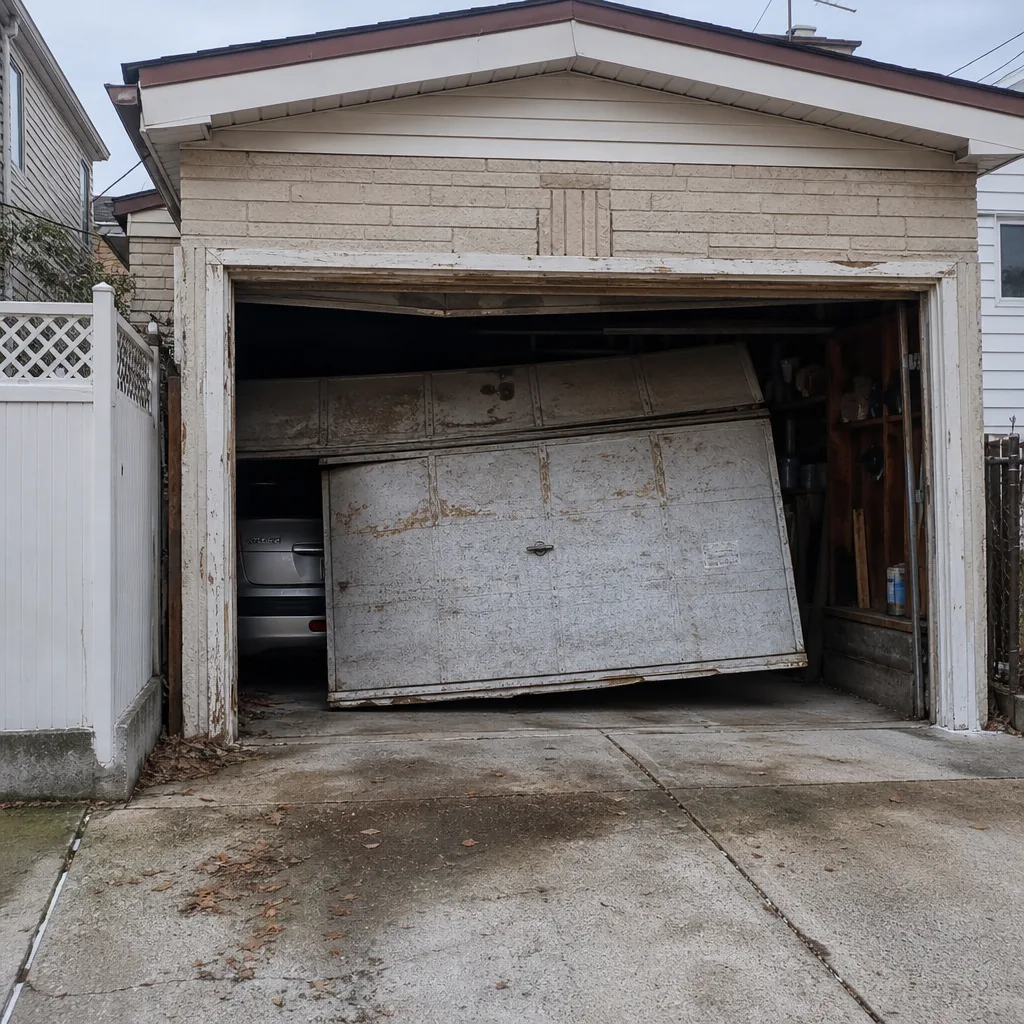 Before
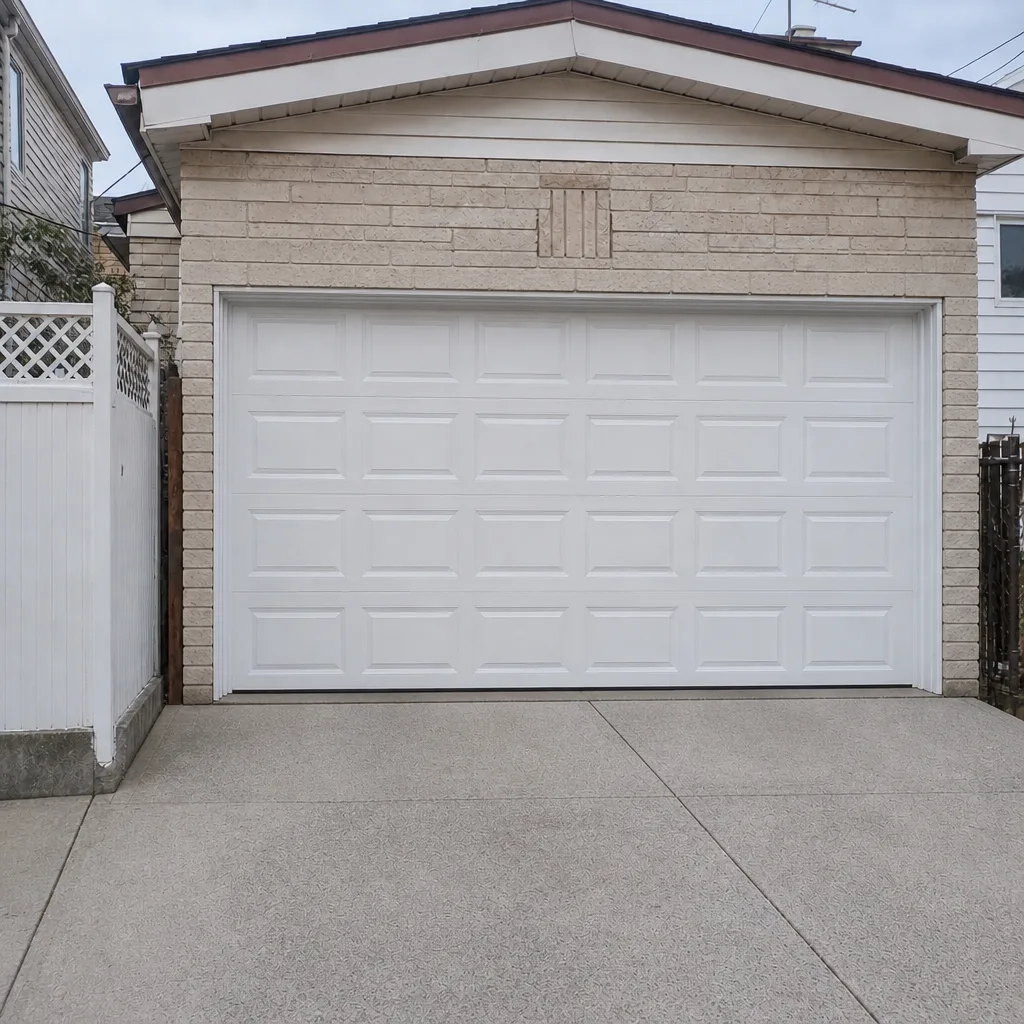 After
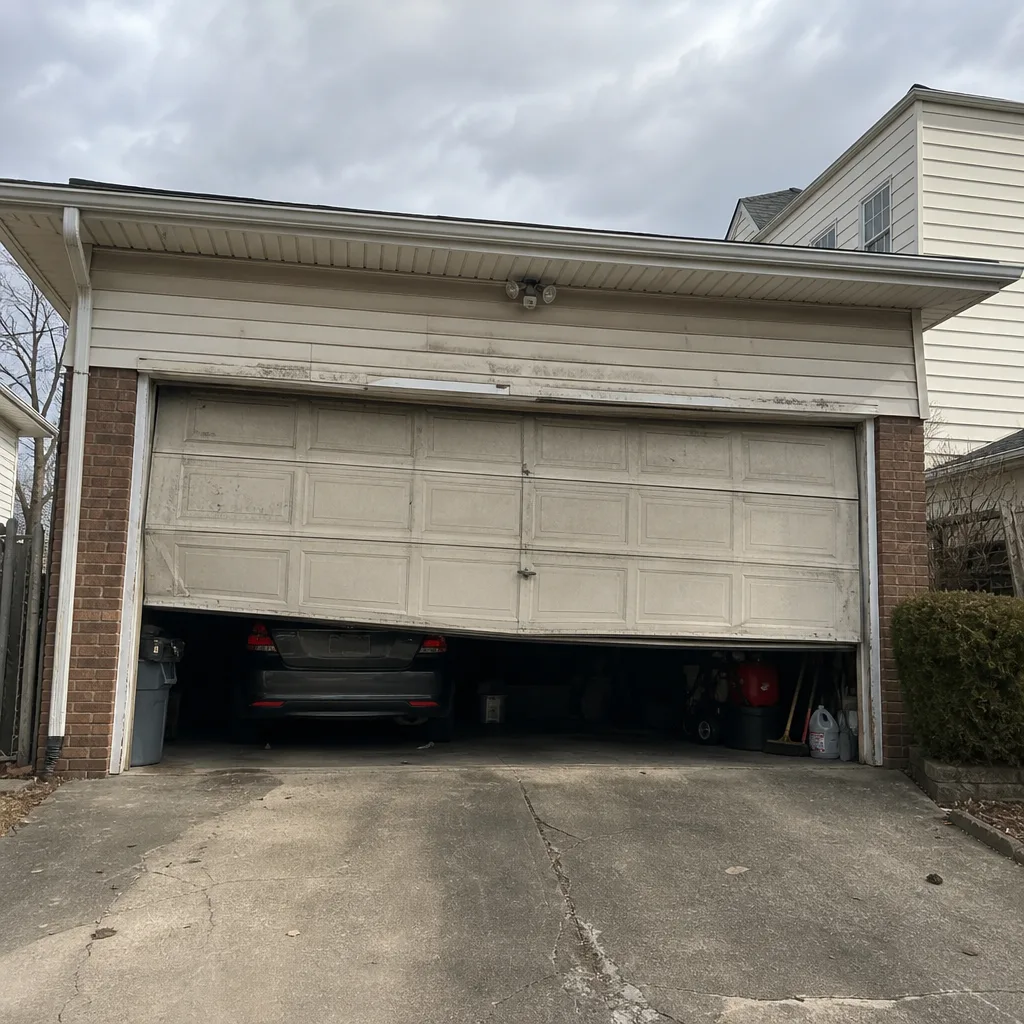 Before
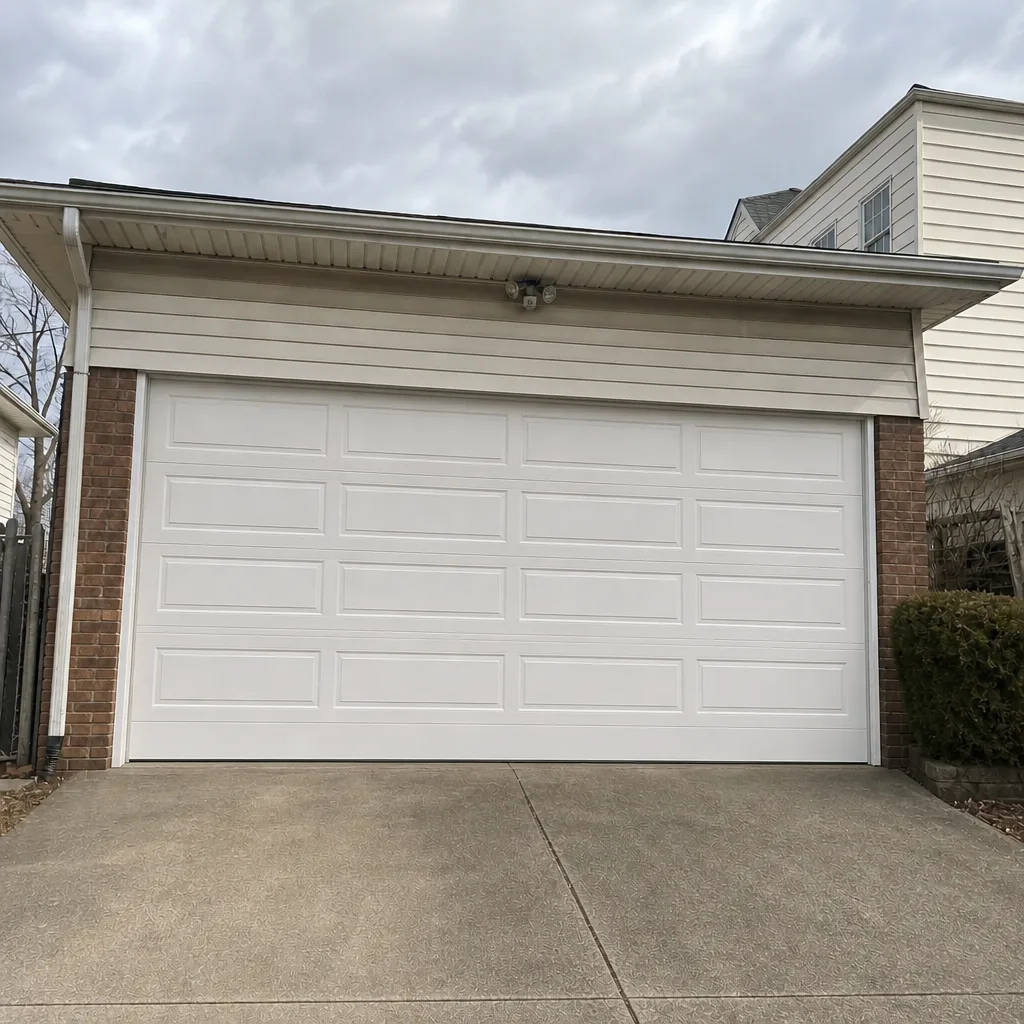 After
When to Call a Professional
The checklist above is designed to help you spot problems early, not to replace the diagnosis of a trained technician. There are specific situations where a call makes more sense than a do-it-yourself pass. A snapped spring or a frayed cable, obviously. A door that’s stuck open or stuck closed. A door that reverses partway down or jerks through its travel. An opener that hums without moving the door, or one that’s started running while the door is stationary. Any of those warrant a professional look, and the earlier the call, the cheaper the repair.
Our technicians have up to 12 years of experience, and our service includes spring repair, opener diagnostics, and full-system checks. Garage Door Repair Long Island City offers free estimates in Long Island City. Call (877) 549-7594. We answer 24/7. Fast dispatch from 7am to 7pm, Sunday through Friday.
Frequently Asked Questions
Check springs visually every month and do a full balance test twice a year, in the fall and spring. Long Island City’s humidity and freeze-thaw swings can shorten spring life compared to what the manufacturer’s packaging suggests, so a monthly visual is a small habit that catches problems early. If you see gaps in the coil or rust on the spring, that’s a call, not a wait.
No. Torsion springs and extension springs are under extreme tension, and handling them without the right training and tools causes serious injury every year. We handle both torsion and extension spring repair. Call (877) 549-7594. We answer 24/7. Fast dispatch from 7am to 7pm, Sunday through Friday.
We work on all eight of the major brands: LiftMaster, Chamberlain, Genie, Clopay, Amarr, Wayne Dalton, Craftsman, and Raynor. Clopay and Amarr doors dominate in residential installations, and LiftMaster and Chamberlain openers are the two most common we see. Genie and Craftsman units are also routine. If you’re not sure what your door or opener is, tell us the model number on the opener head or the door panel, and we’ll match it.
Torsion springs sit above the door on a horizontal bar and twist as the door opens; extension springs run along the side tracks and stretch. Torsion springs are usually the more durable option but harder to replace, and extension springs need containment cables to prevent projectiles when they fail. Long Island City doors use both, and the check is different depending on which you have.
Usually one of three things: worn rollers, dried-out hinge pins, or a door that’s out of balance and forcing the opener to work harder. Rollers and hinges respond to the right lubricant, but if the noise keeps coming back, the balance test will tell you whether the springs are the underlying cause. Call (877) 549-7594 for a free estimate if the noise is getting worse, not better.
Yes, especially if the door hasn’t been checked in a year or more. A door that “seems fine” can have a spring at the end of its life or a force limit set too high, and those don’t announce themselves until they fail. The balance test and the force-limit check together catch most of those problems before they become an emergency. Call (877) 549-7594 for a free estimate on a maintenance visit.
The Bottom Line
Garage door maintenance isn’t about following a generic twice-a-year checklist. It’s about knowing the failure sequence in your climate and checking the parts in the right order. Springs first, cables second, rollers third, bottom seal last. Run the balance test twice a year and the force-limit test every quarter. Use the right lubricant, not WD-40, and never adjust a spring yourself. If you own a door in Long Island City, doing those five things will catch most failures before they strand your car or take a panel with them. When something fails anyway, that’s when garage door repair in Long Island City belongs on your speed dial.
We service all eight of the major brands, handle torsion and extension springs, and offer emergency garage door service along with full installation capability. Call (877) 549-7594 for a free estimate. We answer 24/7. Fast dispatch from 7am to 7pm, Sunday through Friday.
Written by the team at Garage Door Repair Long Island City.